Version 9.0.2
Part Number A95458-02
Home | Solution Area | Contents |
Index |
| Oracle9iAS Discoverer Configuration Guide Version 9.0.2 Part Number A95458-02 |
|
This chapter describes how to deploy Oracle9iAS Discoverer with Oracle Enterprise Manager, and contains the following topics:
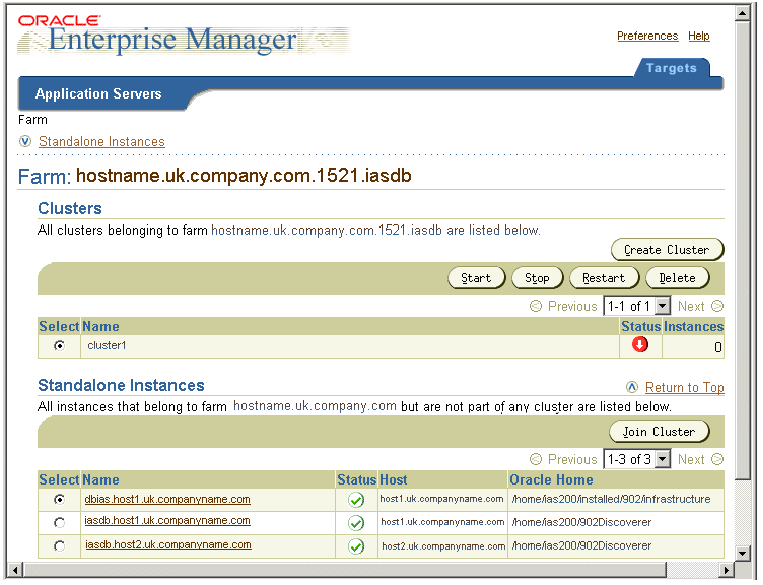
Oracle Enterprise Manager (OEM) provides a single point of entry for configuring the middle tier for Oracle9iAS Discoverer. This enables an Oracle9iAS Discoverer manager to administer the Discoverer server without having to access and perform tasks through the server Operating System.
For more information about using Oracle9iAS Discoverer with Oracle Enterprise Manager, see Oracle Enterprise Manager Help and Oracle Enterprise Manager Configuration Guide.
Note: For more information about how to start OEM, see Section 13.5.2.3, "How to display the Oracle9iAS Discoverer Plus Configuration page in OEM".
You use Oracle Enterprise Manager to do the following configuration tasks:
You use the Oracle Enterprise Manager to configure Oracle9iAS Discoverer. For example, if you want to encrypt Discoverer Plus data, you might want to configure Discoverer Plus to use the HTTPS communication protocol.
How to display the Oracle9iAS Discoverer Plus Configuration page in OEM:
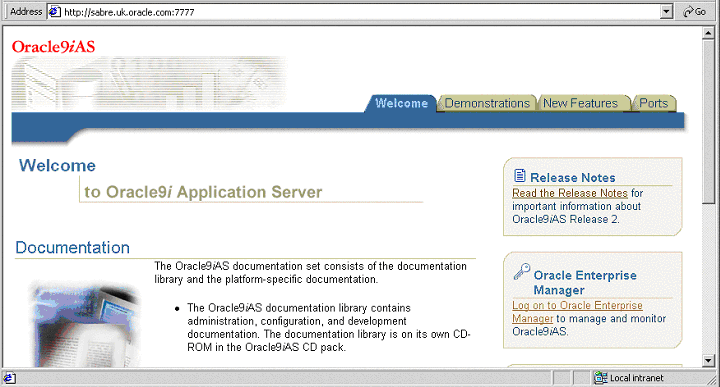
If you are connected to the Oracle HTTP Server locally, the URL will be in the form:
http://hostname:7777
Tip: You can also go directly to the Oracle Enterprise Manager page using the 1810 port, i.e the URL will be in the form:
http://hostname:1810
Note: For more information about starting OEM, see Oracle Enterprise Manager Configuration Guide.
Note: If you need an OEM user name and password, contact the Oracle9iAS system manager.
You can now monitor Oracle9iAS and manage the machines on your network such as Oracle9iAS Discoverer and Oracle9iAS Web Cache.
You create a public connection when you want to provide a pre-defined login to Discoverer Plus and Discoverer Viewer users. For example, you might create a public connection called 'Start tutorial', which connects to the tutorial database as a tutorial user. Or you might create a public connection that connects to the Oracle9iAS demo database.
You use Oracle Enterprise Manager to create public connections. For more information about Oracle Enterprise Manager, see the Oracle9i Application Server Administrator's Guide.
To create a public connection:
For more information about starting Oracle Enterprise Manager, see Section 2.4, "How to start Oracle Enterprise Manager"
A list of Oracle9iAS components on that machine is displayed (e.g. HTTP Server, OC4J_BI_Forms, Web Cache, OC4J_Portal).
The Oracle9iAS Discoverer Services Configuration table contains a row for each part of Discoverer that you can configure.
The new connection that you created is displayed in the Discoverer Public Connections list on the General Discoverer Configuration page.
When Discoverer end users connect to Discoverer Plus or Discoverer Viewer, they will be able to select the connection that you have just created.
|
|
 Copyright © 2002 Oracle Corporation. All Rights Reserved. |
|