Release 9.0.2
Part Number A95410-01
Home |
Solution Area |
Contents |
Index |
| Oracle Enterprise Manager Configuration Guide Release 9.0.2 Part Number A95410-01 |
|
Beginning with Release 9.0 when you launch the Enterprise Manager Console or various other Enterprise Manager applications, you are prompted to choose between launching the product standalone (i.e. not connecting to the middle tier Management Server) or logging into a Management Server.
Launching the Console standalone allows a single administrator to perform simple database schema, instance, storage, security, and other database tasks by connecting directly to the target database(s).
Launching standalone does not require a middle tier Management Server or Intelligent Agents on target machines.
This chapter will describe out-of-box requirements for running the Console standalone.
When you launch the Enterprise Manager Console, you are prompted to choose between launching the product standalone or logging into a Management Server.
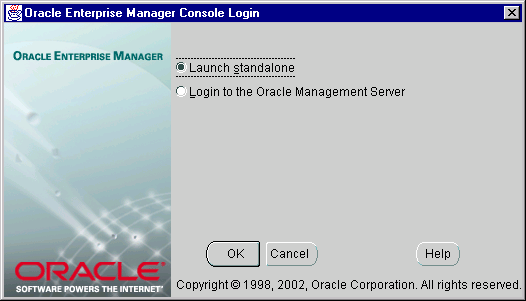
Choose to launch the Console standalone when you want to connect directly to your managed target(s) to perform administration tasks. With Enterprise Manager Release 9.0.2, the standalone Console only supports connecting directly to database targets, no other target types are currently supported.
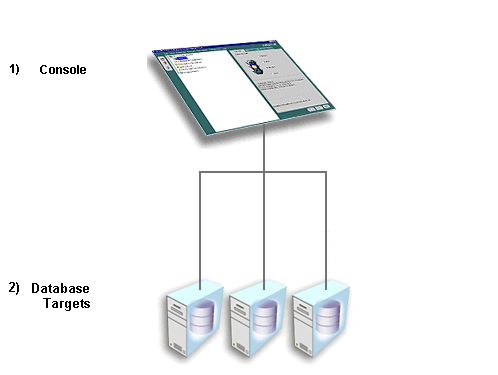
Launching standalone does not require a Management Server as a middle tier or Intelligent Agents on managed targets. Consequently, when you launch the Console standalone, you do not have access to functionality typically available through the Management Server and Intelligent Agent, such as:
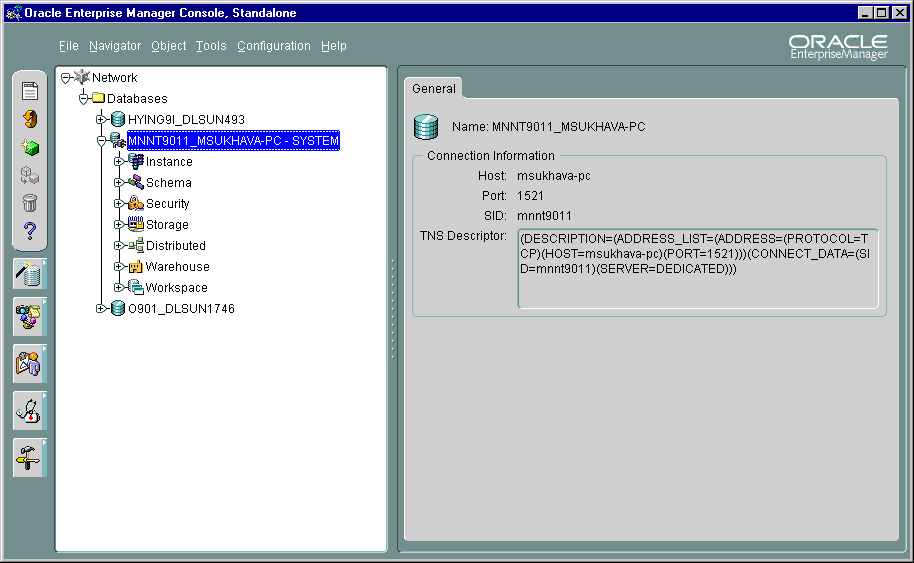
On Windows-based platforms, you start the Console from the Windows Start Menu.
On any supported platform, you can launch the Console from the command line by using the command:
oemapp console
On UNIX platforms, the oemapp part of the command line is case-sensitive and must be entered with lowercase characters.
When you are presented with the Console login dialog, choose "Launch standalone" and press OK.

To bypass the Console login, you can enter the following command at any supported operating system command line:
oemapp console oem.loginmode=standalone
By entering the command, you will immediately see the standalone Console.
If you are starting the standalone Console for the first time, the left panel of standalone Console is empty because you have not yet added the databases you want to manage. The Add Database To Tree dialog appears automatically so that you can add them to the navigator tree.
The Add Database To Tree dialog is also available from the Navigator menu.
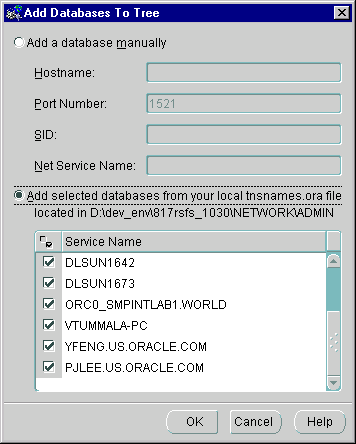
The Add Database To Tree dialog allows you to manually enter the Net service names or add them from the local tnsnames.ora file.
You can add databases to the standalone Console navigator tree by manually filling in the following fields:
For example: ORCL.world.
|
Note:
Adding a database manually automatically updates the local tnsnames.ora file located in your |
You can populate the standalone Console navigator tree by reading the database service names from the local tnsnames.ora file located in your Oracle Enterprise Manager home. The Add Database To Tree dialog displays a list of databases identified in your tnsnames.ora file from which you can select or deselect. Click the column header to the left of Service Name to either select or deselect all the databases. If you have deselected all the databases, you can choose specific databases by selecting their checkboxes.
After adding databases to the tree, see the Oracle Enterprise Manager Administrator's Guide for details on how to use the standalone Console to perform administration tasks.
The standalone Console includes several integrated applications. Some of these integrated applications require a standalone repository in which to save information; they include:
|
Note: The standalone repository is different from the repository used by the Management Server since it is used for a single user while the Management repository is used for multiple users. |
The first time one of the above standalone applications is accessed, you will be prompted to create a database user who will own the standalone repository schema or if you have already created the user to specify its username and password.
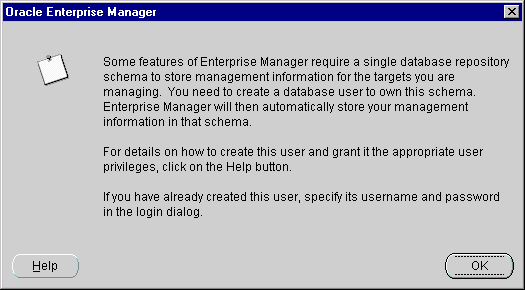
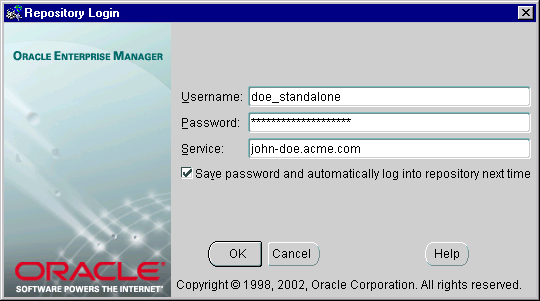
Because this database user must have certain roles and privileges, Oracle recommends creating a new database user to own the standalone repository schema. In addition, because certain tablespace attributes are required for the standalone repository, you should also create a new tablespace. Once the user and tablespace have been created, you can supply the user's username and password, and the standalone application will automatically create the standalone repository for you.
When subsequent standalone applications which require a standalone repository are accessed, they will all use the same standalone repository.
The following database releases are supported for the standalone repository:
You must ensure that the database in which the repository will be placed has object support. If it does not, repository creation will fail. Either choose another database that has object support, or install and enable object support on the chosen database.
|
Note: Object support is installed and enabled by default for database releases 9.0.X, 8.1.7, and 8.1.6, but is not installed and enabled by default for the Enterprise Edition database release 8.0.6. |
Create a tablespace with the following attributes:
To create a tablespace for the standalone repository, first select the database in which you want to place the standalone repository, ensuring it meets the requirements outlined. Then, follow the procedure described in this section:
On Windows:
You can start the standalone Console from the Windows Start Menu.
On UNIX:
You can start the standalone Console from the command line using the command:
oemapp console
When the login dialog appears, choose "Launch standalone" to connect directly to databases and press OK.
A standalone repository is owned by a database user. A database user (repository schema user) who will own the repository must be created before the standalone repository can be created by Enterprise Manager.
To create a database user who will own the standalone repository, follow the procedure described in this section:
Once you have a tablespace and a repository user, launch a standalone application which requires a standalone repository.
When the dialog appears informing you that certain features of Enterprise Manager require a standalone repository and you must create a new database user to own the standalone repository schema, click OK to dismiss the dialog since you have already created the user.
Supply the user's username and password for the repository login and press OK. The standalone application will automatically create the standalone repository for you.
|
|
 Copyright © 2002 Oracle Corporation. All Rights Reserved. |
|